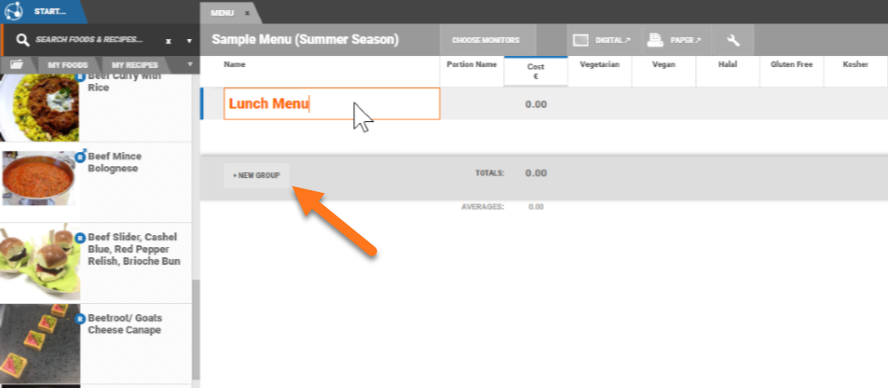
4. Drag and drop recipes, foods or food/recipe groups onto your menu (or use the insert button)
Pro Tip: Switch the workspace view between the tile and list mode by clicking the toggle in the bottom right of the screen.
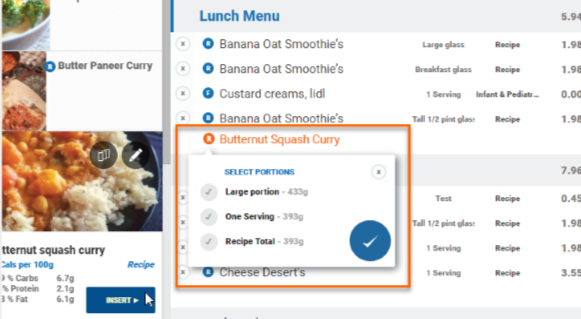
5. Select the recipe portions that should appear on the menu from the dropdown
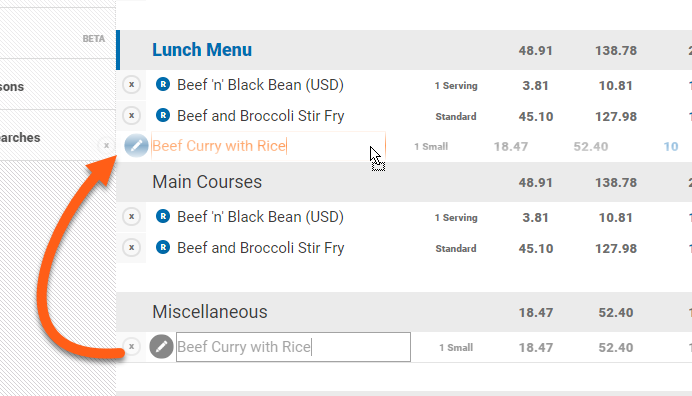
6. Rearrange groups or menu items by dragging and dropping
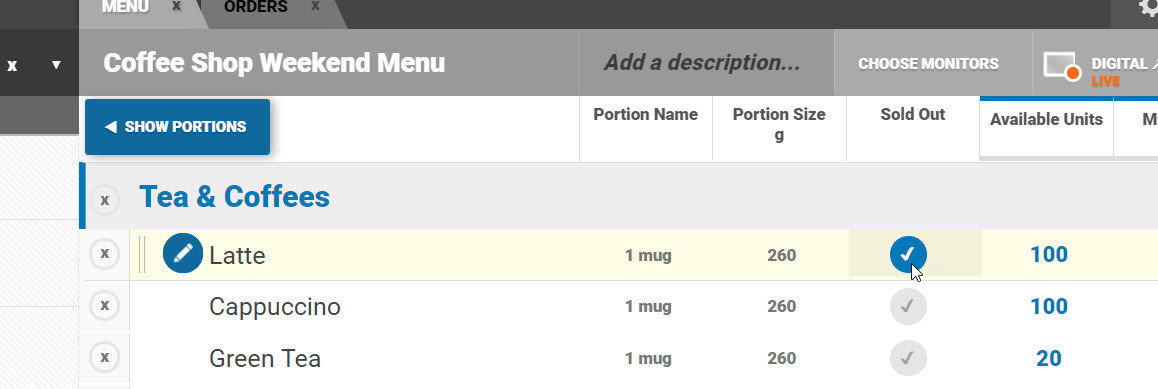
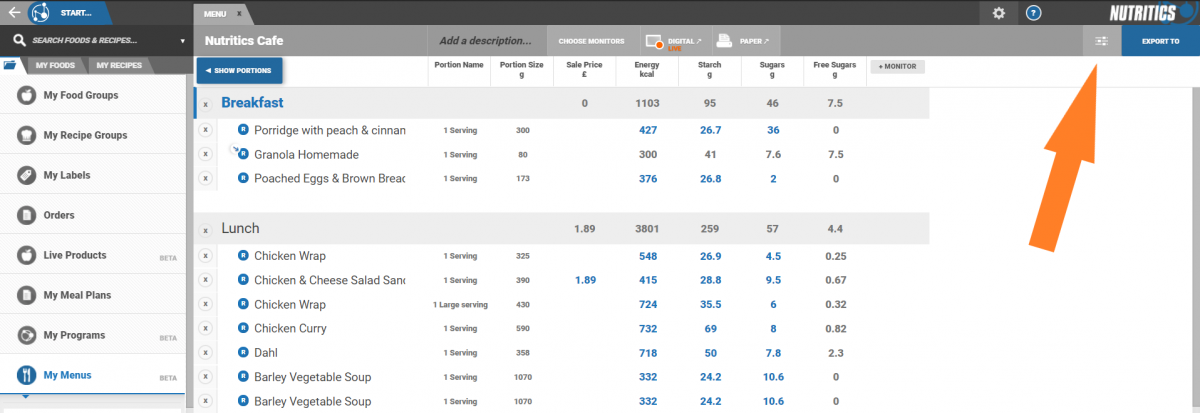
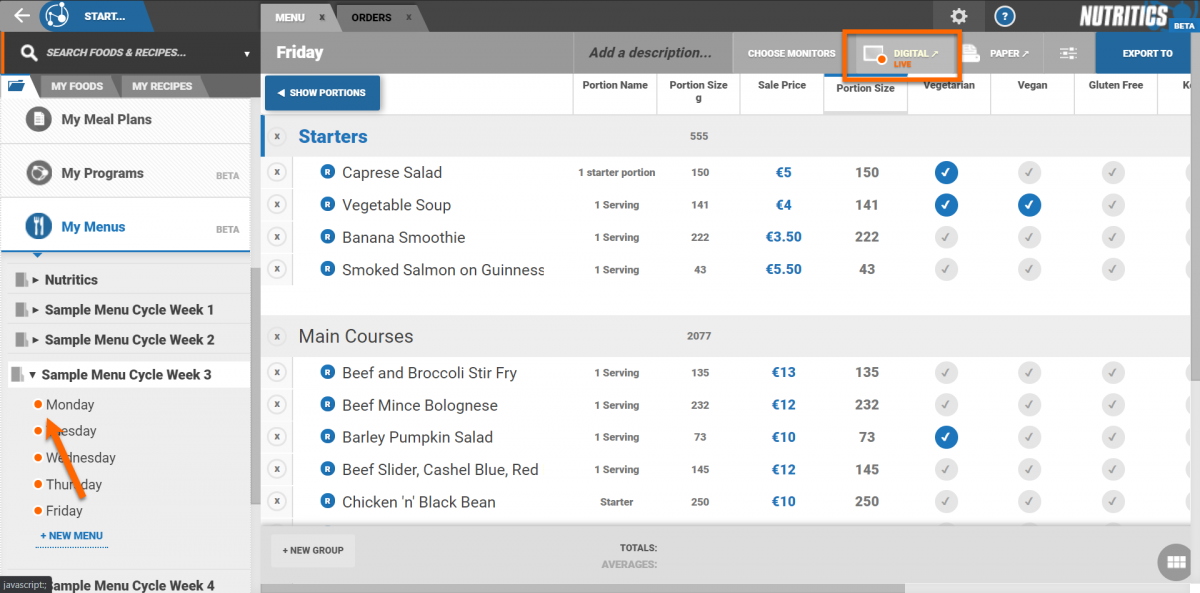
7. Click ‘Choose Monitors’ from the top toolbar to customise the detail that is available on display
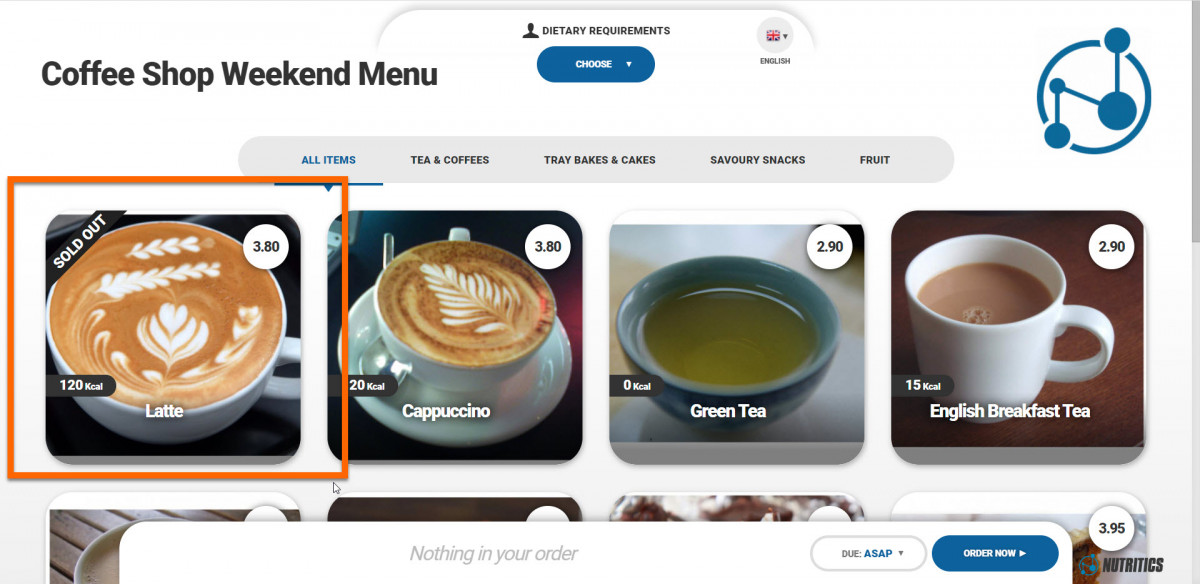
If the menu will be used for ordering, use the 'sold out' monitor to add a ‘sold out’ banner over the menu item on your digital menu.
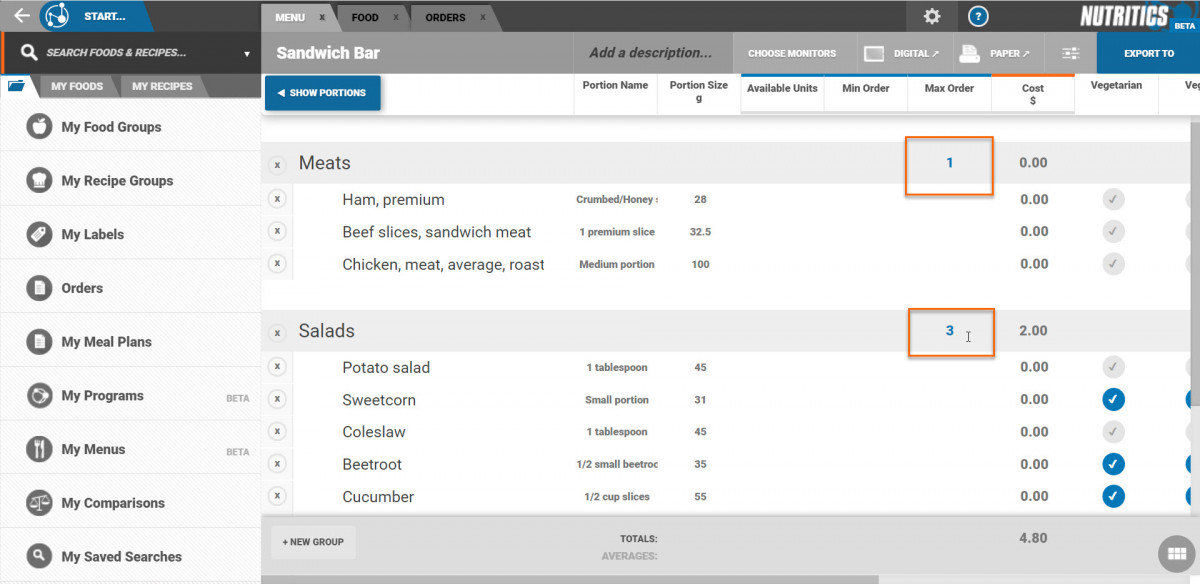
You can use the 'order limits' monitor to control the number of items customer can order.
Setting a min order means the customer must select at least this many menu items from this menu group e.g. build your own breakfast by picking at least 2 meats
Setting a max order means the customer cannot select any more than the specified number of items from this menu group e.g. make your own sandwich, choose 1 bread, 1 meat and 3 salads.
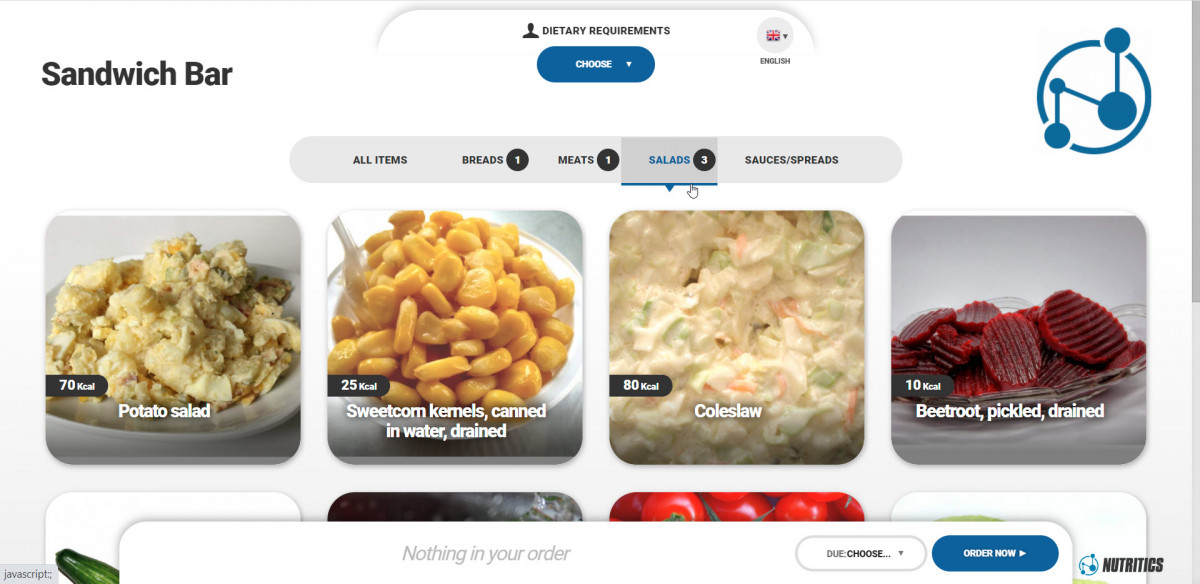
Any order limits will be displayed on the digital menu beside the menu group name.
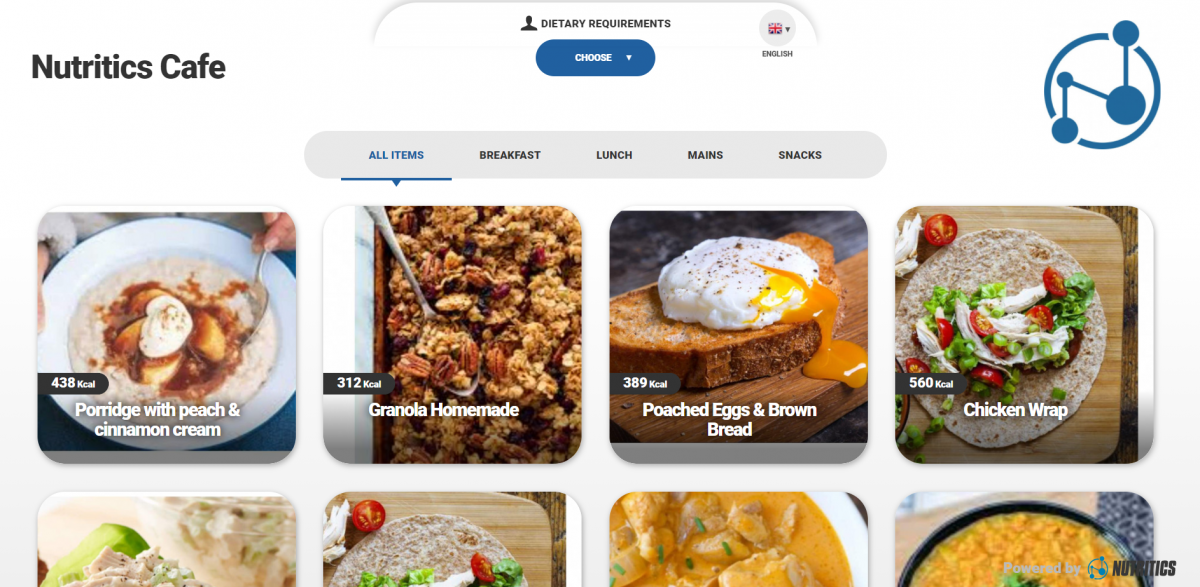
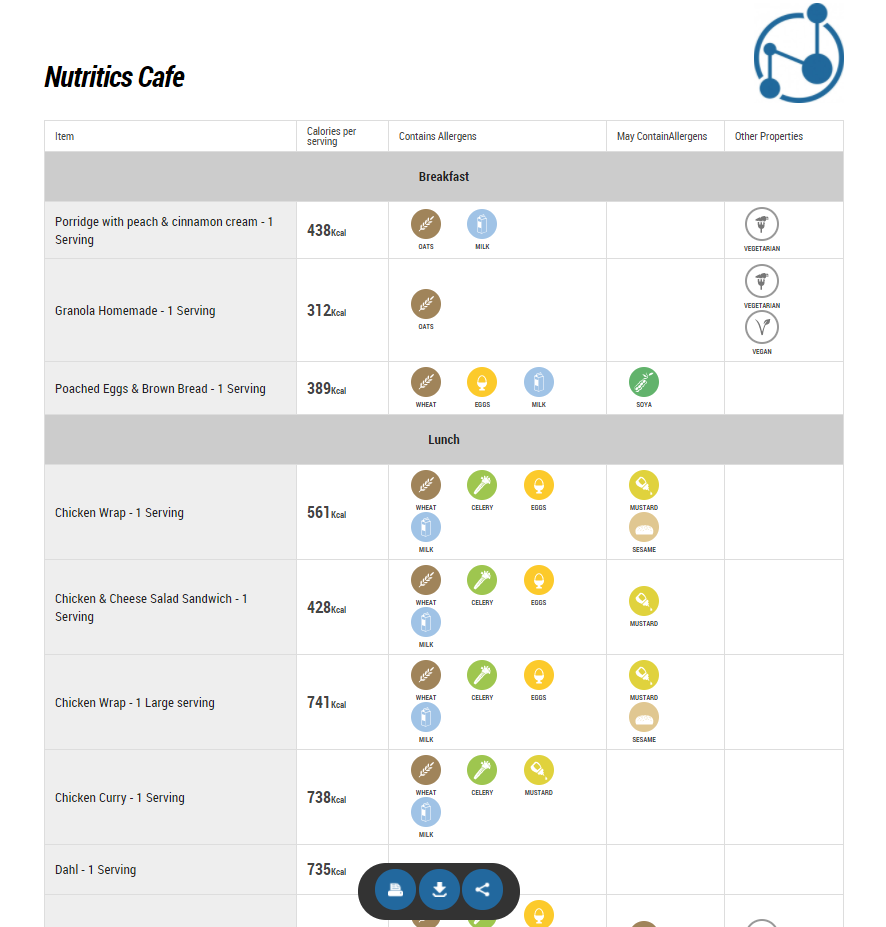
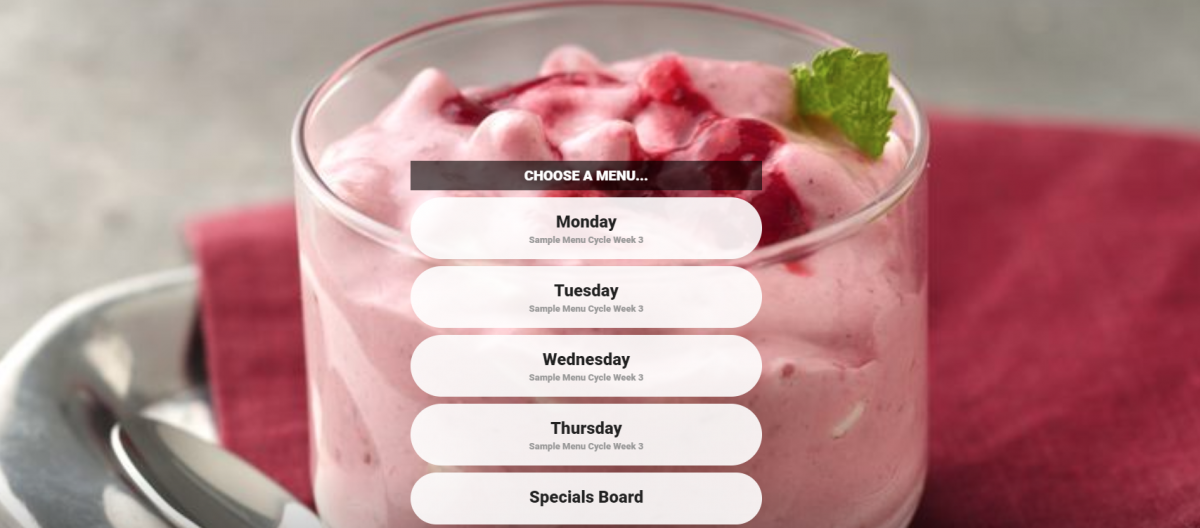
8. Click the digital menu button in the top toolbar to preview your menu in digital format (top picture below) or click the paper menu to generate an allergen and calorie summary sheet (bottom picture below):
Menu settings
Menu settings are accessed by clicking on the grey slider icon in the top right corner of the menu workspace.
Within the settings menu, there are several tabs that allow for the customisation of the menu
Display tab
Choose the information to be displayed on paper and digital menus e.g. menu item prices, calories and allergen information, an ingredient list and front and back of pack nutrition information.
Select show the 'all items' group to allow the menu to default to all items. Alternatively, toggle this off so the menu defaults to the first recipe group available.
Choose the look of the menu e.g. apply a light or dark theme and select how many menu items or ‘tiles’ are displayed in each line.
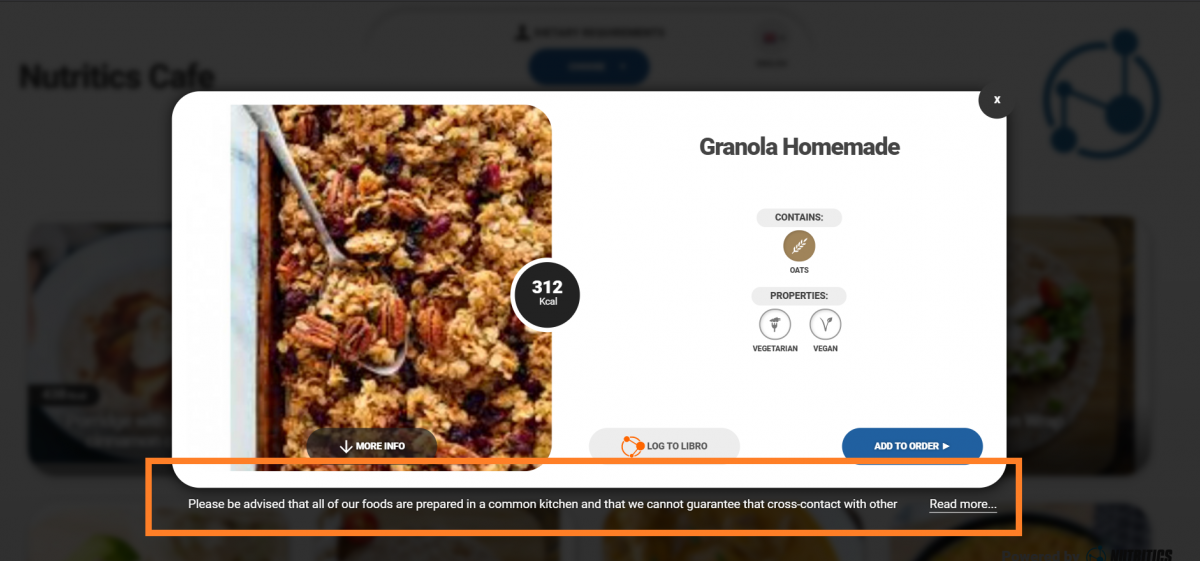
Enter a disclaimer to be displayed on all menu items, or add a welcome message for your menu.
Interactivity tab
Choose how customers can interact with the menu.
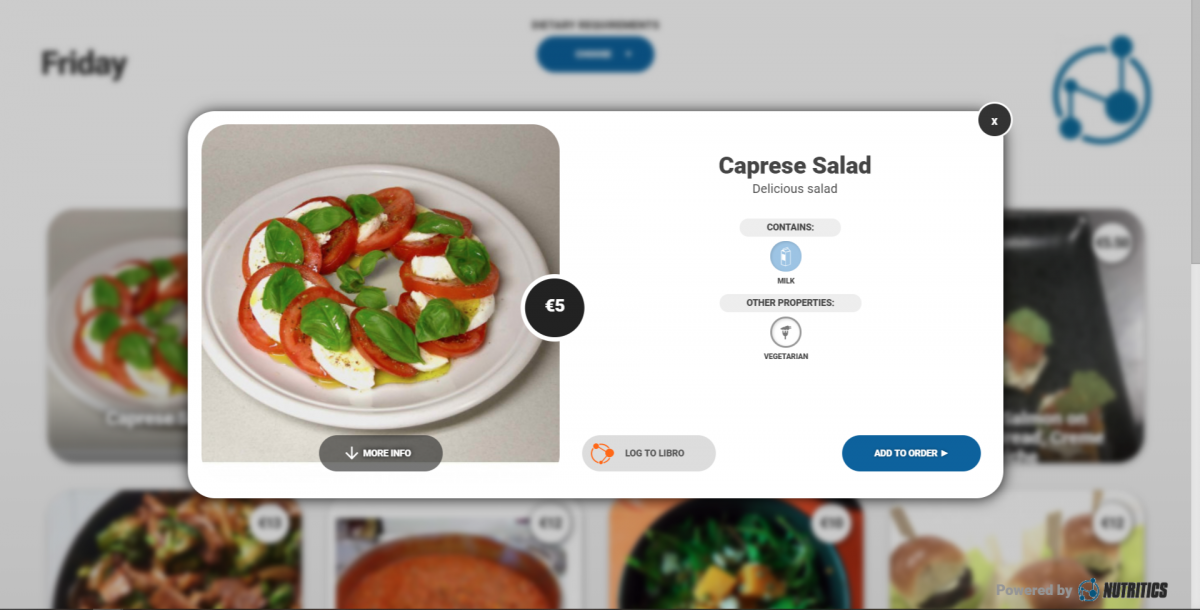
Interactive mode allows customers to scroll through the menu and click on menu items for more information/ordering purposes and is recommended where menus are being displayed on touchscreens. Untick this option is your menu will be displayed on a digital display or TV that is not a touchscreen.
Tick ‘Allow users to go back to the list of menus’ to allow customers to exit the current menu they are viewing and browse all published menus e.g. you might want to allow your customer to exit the bar menu and look at the restaurant menu.
Tick ‘The screen resets to the list of menus’ and the menu will return to the list of published menus after a period of inactivity.
Enable a ‘featured items’ screensaver and menu items will flash on screen when the menu is left idle.
Ordering tab
For more information please see our separate guide on meal ordering
here.
Notifications
Choose what notifications you or the customer receive with ordering.
Publishing tab
Menus can be made live from the publishing tab using the drop-down.
Choose if the menu is published immediately or schedule a date and time for the menus to go live.
Live menus have an orange circle beside the menu title in the Nutritics explorer and on the the digital button in the menu workspace.
Click on the digital button to preview your digital menu.
Sharing tabLibro is an app designed to track diet, exercise and lifestyle goals. Libro users log their diet and exercise on the app and receive analysis reports and feedback from their nutrition professional directly to their phone. Publish menus to Libro to allow Libro users to browse the menu on their smartphone.
Tick 'enable sharing' and copy and paste the menu URL to display the menu on a website, on a tablet or other displays; embed the menu on a website using the code provided or display the QR code online or at an outlet for customers to scan.
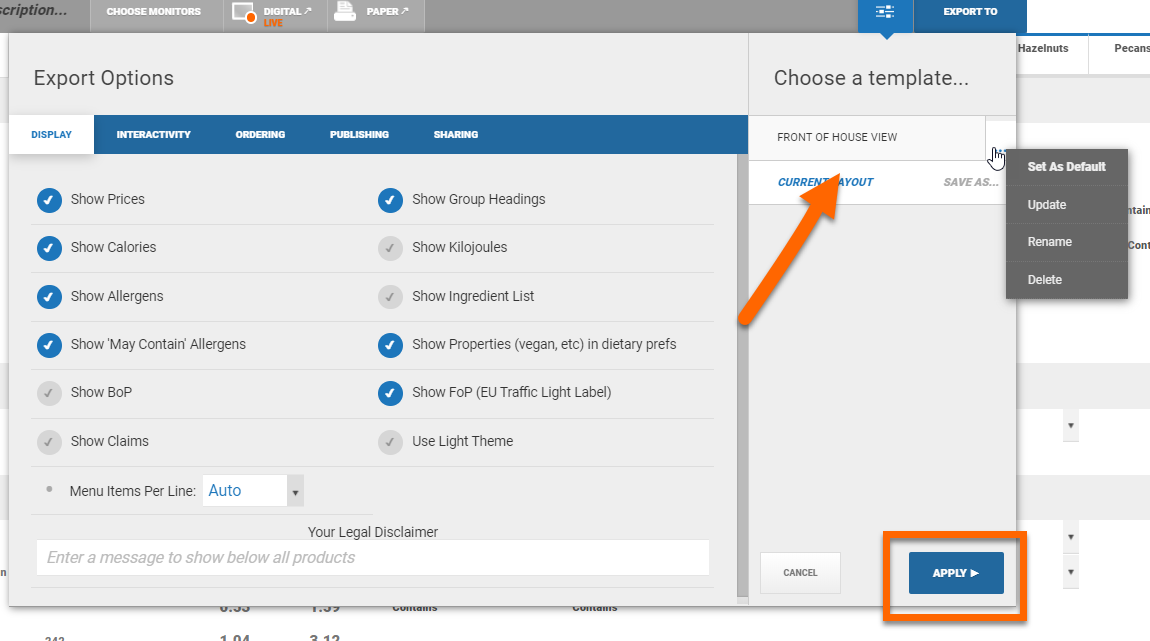
Menu settings can be saved as a template and applied to other menus. Click ‘save as’, name your template and the template will be saved for reuse.
To apply a template, click on the template name and select apply. Right-click on the template name to set it as the default menu layout, to update the template or to rename or delete the template.