You can update and manage your products via the supplier portal. When you log into your secure portal, you will see your existing foods or recipes can be viewed on the left hand side.
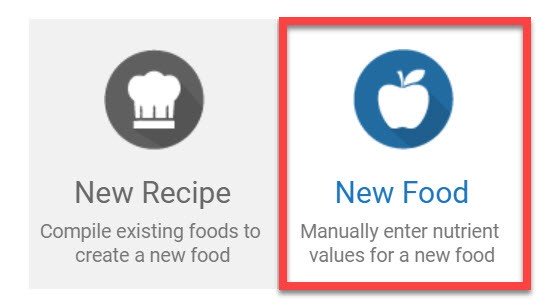
To add a new product to your supplier portal, click the start button located in the top left corner of the screen. This will open the start menu. Click on ‘New food’ to add a new product to your database. You can add data from a products nutrition label, or from other sources (laboratory analysis or specification sheets). For this example, we are going to add label data.
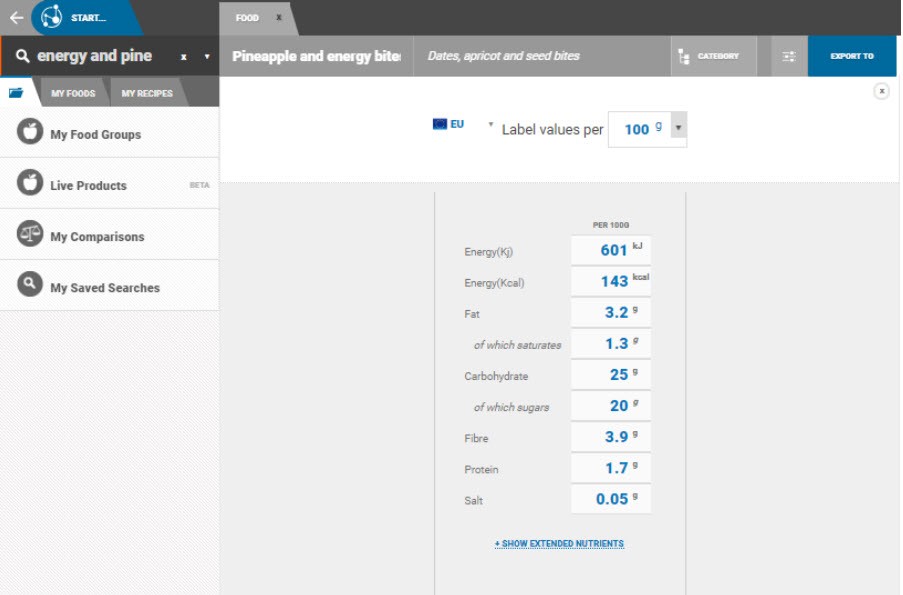
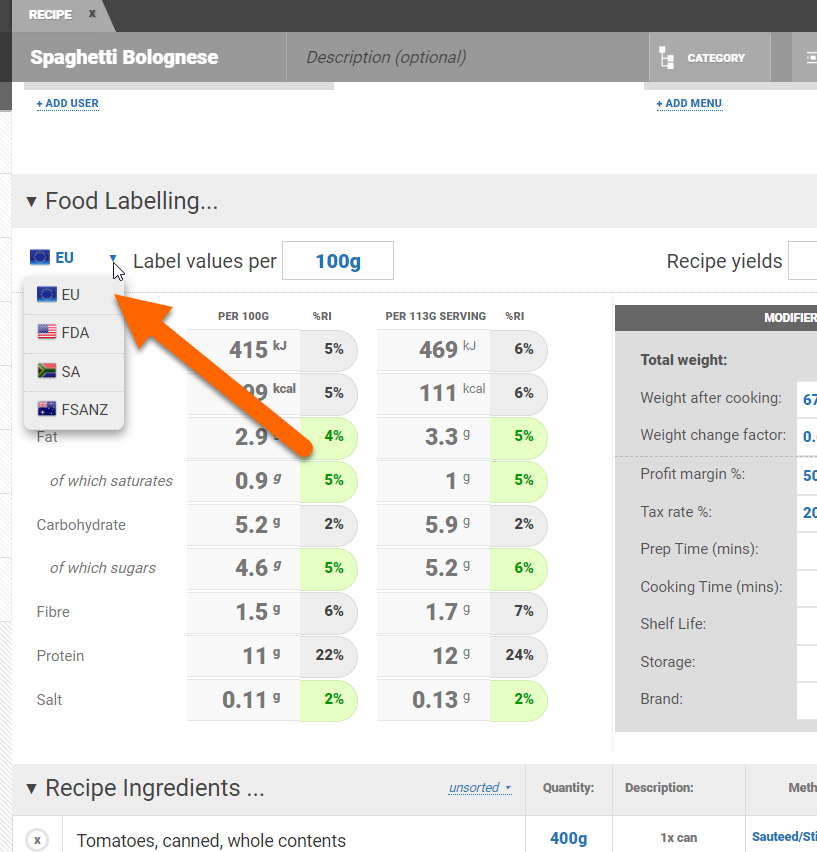
First, name the product and provide an optional description. These also act as search terms when looking for the product later. Next, choose a category for the product from the options presented. The category chosen will determine the cooking methods available if the product is used in a recipe. Add the key nutrients that appear on the product's label. The label format will default to the labelling standards and requirements of the region set in your account. This can be changed via the black drop down arrow. If your product is a liquid, you can enter the nutritional information in mls by clicking the black drop down arrow.
Click ‘show extended nutrients’ to enter any other details such as fat subcomponents (such as mono or poly unsaturated) or micronutrient information. Click ‘submit label values’ when finished. If you chose to enter the nutrition information from ‘other sources’, the database values will be stored as entered and will also be converted to labelling standards.
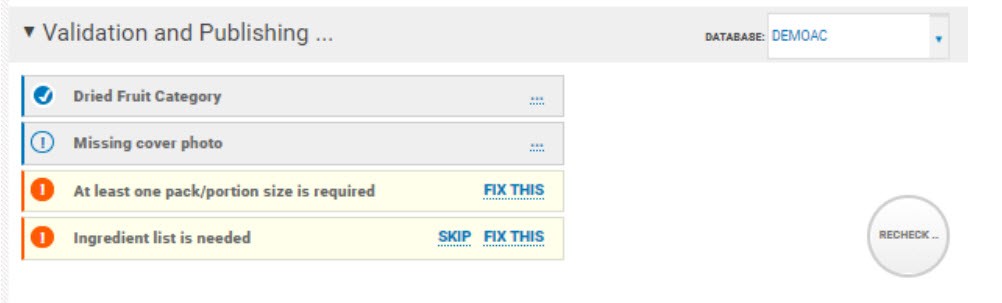
Once the nutrient information has been submitted, you will be required to add some other mandatory pieces of information before you can publish your product to your database. By scrolling to the publishing panel, you will see what is required.
The mandatory information will be flagged in orange and will include product name, category, ingredient list, at least one portion or pack size and its’ unique code. To add or update any of these fields, you can click on the fix this button and you will be brought to the appropriate section. Additional but not mandatory information will be flagged with a blue exclamation mark eg. cover photos.
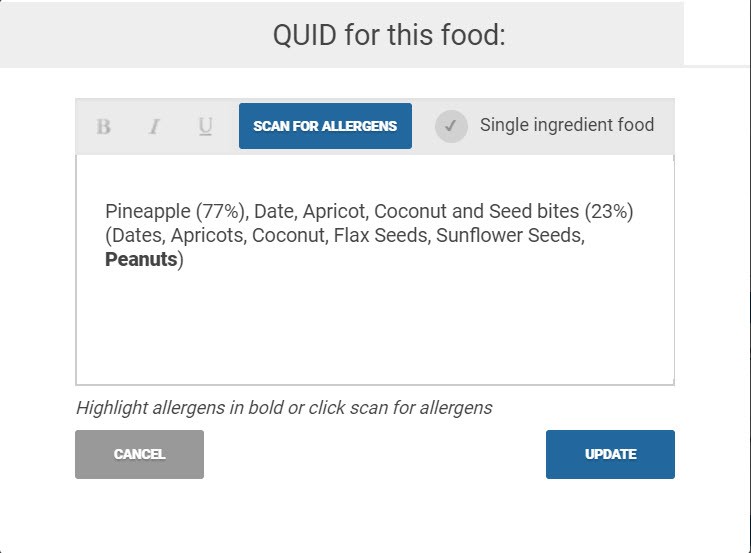
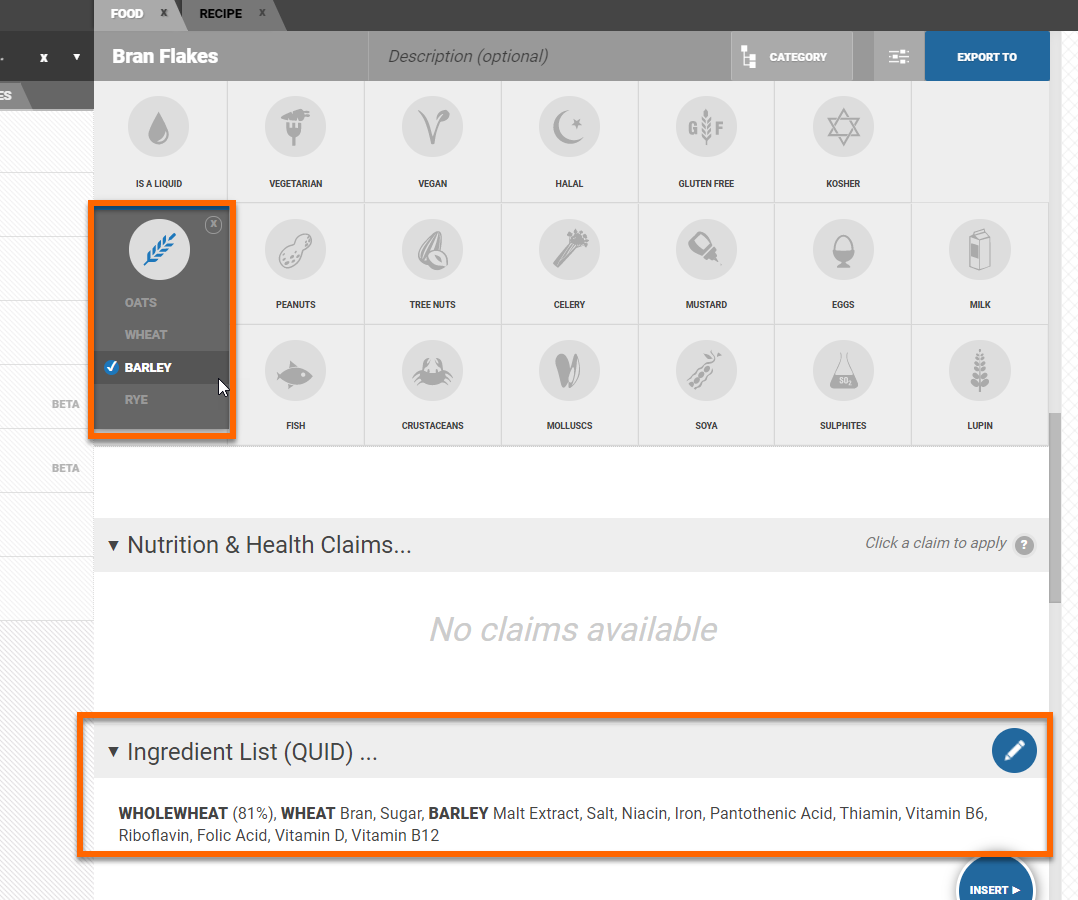
To add the ingredient list for the product, click the fix this button and you’ll be directed to edit this in the appropriate section. The ingredient list can be typed in or copied and pasted from another source. You can choose to bold any allergens or click ‘scan for allergens’ before clicking update. If any allergens have been flagged, you will be asked to approve them in order to proceed.
The allergens detected are specific to your region. The region can be changed under the ‘food labelling’ section by clicking on the dropdown.
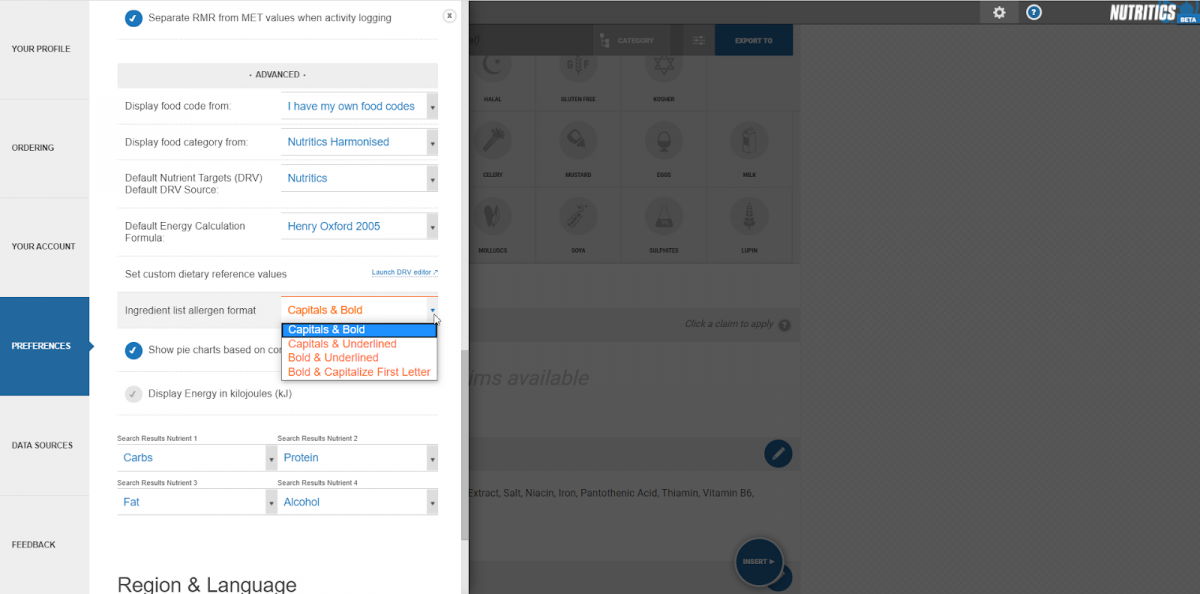
You can change how the allergens are formatted by going to the menu by clicking on the cog icon in the top right corner of the screen > settings > preferences > scroll to the advanced section and choose your preference from the dropdown beside ‘Ingredient list allergen format’.
Allergens in the ingredient list will be flagged in the allergen tiles automatically.
Now when we return to the publishing panel and click re-check, the only outstanding piece of information is a product / portion size and its unique code. Clicking 'fix this' will allow you to add product names or portion sizes (eg. small, medium , large or 150g, 500g, 750g), their unique codes and images.
All fields are free text boxes so simply click on them to type.
Add additional products/servings can be added by clicking ‘+new product’.
It is important to note that a product / portion code is required for publishing. The code can be manually entered or if your product doesn’t have a code, you can choose to have one auto-generated by clicking on the round arrow.
Toggling a portion ‘off’ means that product will not be published to your database, but this product will still be available for you to use throughout your own account e.g. to create labels, menus, as a sub recipe.
When all of the mandatory information has been added, the re-check button will update to a publish button. Clicking this button will publish the food to your database. Once a product has been published, it will be available to your customers to search, view and use.
All the foods published to your database are stored in the ‘my foods’ tab. You can make any edits or updates to a published product by updating the appropriate section and re-publishing. However if the product has been reformulated and has different nutrition or allergen information, you will be required to publish this food with a different product code.